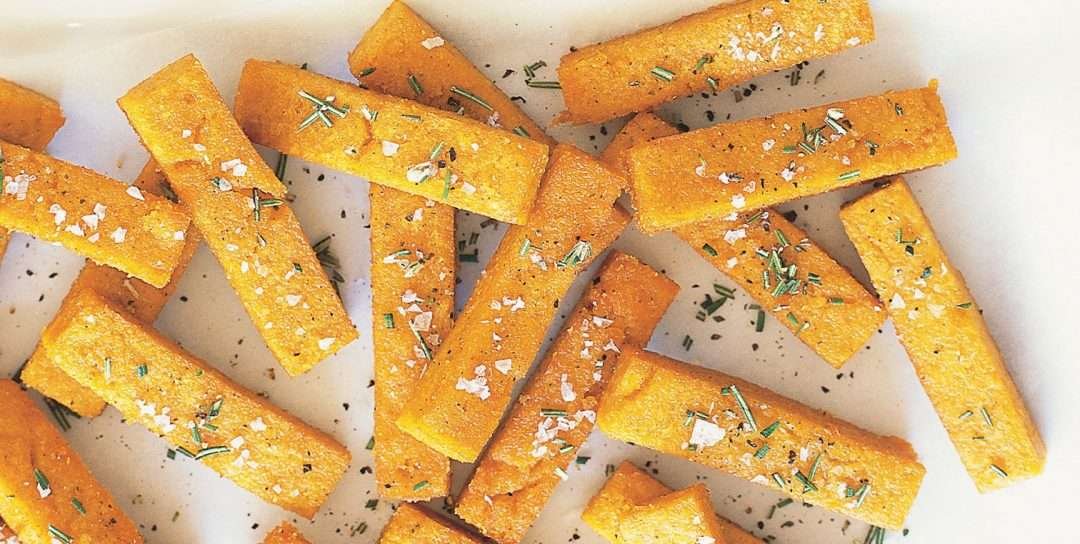
Italian Baked Polenta
This is a simple yet delicious recipe that I have put together for you to use as a base. If you wish, you can serve this up once cooked as a mash (which is great comfort food!) However, below I have taken it to the next level which is setting the cooked polenta in the fridge and then baking it until golden and crisp like a chunky wedge or chip. There are many ways you can serve baked polenta!
Ingredients
INGREDIENTS
- 4 cups water
- 1 tsp salt
- 1 ½ cups polenta or medium ground cornmeal
- ½ cup soy milk or other milk alternative
- 3 Tbsp nutritional yeast
- 1 tsp dried Italian mixed herbs
- 3 – 4 Tbsp olive oil
Instructions
PREPARATION
- Bring the water to the boil and add the salt.
- Once boiling, reduce to a medium heat and slowly whisk in the polenta or cornmeal, stirring constantly to avoid any lumps forming.
- Once well mixed, slowly add the soy (or other) milk, the nutritional yeast and mixed herbs and stir until the liquid absorbs and the polenta thickens to a mash-like consistency. This could take 5-15 minutes depending on the variety of polenta.
- Taste and season with more salt and pepper if desired.
- At this point, you could serve the polenta in a mash style as an accompaniment – it is really tasty and creamy!
- To make the polenta fries below or polenta triangles or squares, transfer the thick mixture into a 9 inch x 12 inch (23cm x 30cm) baking dish lined with baking paper.
- Spread it out evenly. Chill in the fridge for at least an hour or until firm. Once firm, cut into the desired shape – squares, triangles, chip chunks or even heart shapes with a cookie cutter!
- Pre-heat your oven to 180C and lay your shapes onto an oven tray lines with baking paper.
- Brush them with olive oil on both sides and bake for 30 minutes or until golden turning over half way through cooking.
- Serve immediately as a snack, as nibbles with salsa or pesto, or as a main – drizzled with a tomato sauce or salsa with salad on the side – yum!

